At Campsite Chatter we're so excited about the summer that we decided to make - hic - our own summer fizz for that fabulous moment when you have pitched up on your campsite and can propose a toast to summer! It's ridiculously inexpensive, dangerously easy to brew, and devilishly delicious...most importantly it is absolutely the most perfect tipple to take with you on a riverside picnic or as a complement to your afternoon barbeque. So, if you have a camping trip planned in the next two weeks and the elderflower heads are still blooming in a hedgerow near you, why not make your own camping champagne and make a toast to summer and relaxation? Read on to find out how our Elderflower Champagne brewing went and how it tasted!
How to Make Elderflower Champagne
Basically, if I can do it (that's me who can burn a hard boiled egg) then you will fly.
|
|
|
1. Sterilise four 1 litre screw topped bottles (glass or plastic). We used the empties waiting to go to the recycling and wishes immediately that we had had the forethought to be saving empties during May and June, because as soon as we realised how easy - and tasty - this was, we wanted to make MORE!
2. Find yourself a carrier bag and head off on a laid-back, leisurely stroll (did we mention that this was an easy process?). Pick a generous handful of elderflower heads; some recipes say to use 4 large heads of elderflower...we thought this sounded stingy, so went for as many handfuls as we could pick before sundown. The flower heads need to be in full flower and connoisseurs of the elderflower champagne scene suggest that picking them on a warm day when the sun is shining is also best.
|
|

It all starts with a stroll...
|
Combine the Ingredients of your Elderflower Champagne
Back at home, assemble a large bowl, a jug or two, a sharp knife, a lemon and a tea towel. You can start to feel excited at this point, because your kitchen is already filled with the gloriously heady scent of the elderflower nectar and you can smell, if not yet taste, just how scrumptious your camping champagne is going to be.
|
3. Dissolve 600g of sugar in 4 litres of lukewarm water and then allow the water to cool. It's important that the water is cold when you poor it on the elderflowers, as it will otherwise damage the flower heads and affect the success of the brew.
4. Place flower heads in a LARGE bowl, with the juice of one lemon and that lemon cut into quarters.
5. Add two tablespoons of white wine vinegar then pour the sugary-water solution over the flowerheads and stir!
Excitement gives way to smugness . So far you have gone on a short pleasant walk and then spent no more than 5 minutes in your kitchen doing a bit of light water-play that a 3 year old would find easy. Already, though, the sugary solution in your bowl is taking on the flavour of the elderflower heads...
|
|

Before you start, make sure your bowl holds more than 4 litres.
|
Steeping your Elderflower Champagne
|
5. Cover the bowl with a clean cloth and leave it for the magic to begin working. If you can, leave it in a warmish place, as this will help to kick-start the brewing process. Try to avoid scooping large cupfuls of the elixir from the bowl to 'test it' like we found ourselves doing every half an hour. Yes, it is already delicious, but it is at the moment only a great tasting cordial and by sneaking a few crafty 'testers' you are only reducing the amount of champagne you'll have access to in what is now less than 10 days...
6. Allow the elderflower champagne to steep in the bowl for 4 days, stirring perhaps once a day. You'll notice some sediment; you may even see a few teeny insects floating about. Fear not - all this will be strained from your mixture when you bottle it.
|
|

The temptation to drink it all down before the process is finished will be strong.
|
Bottling your Camping Champagne
This bit is a tad messy, but over in a flash. A note to the wise (wiser than we were anyway!) since writing this blog a number of people have got in touch to say that glass bottles can shatter under the pressure of the brew - strong plastic bottles are MUCH safer.
|
7. After 4 days of steeping the ingredients, bottle the champagne. This being our first ever batch of Elderflower Champagne we made a fair few errors...one of these was filling the bottles up to the very top...it's probably a good plan to leave an inch of 'space' at the top of the bottle to alleviate some of the pressure that will build during the brewing process! The second error was using GLASS BOTTLES - go plastic instead!
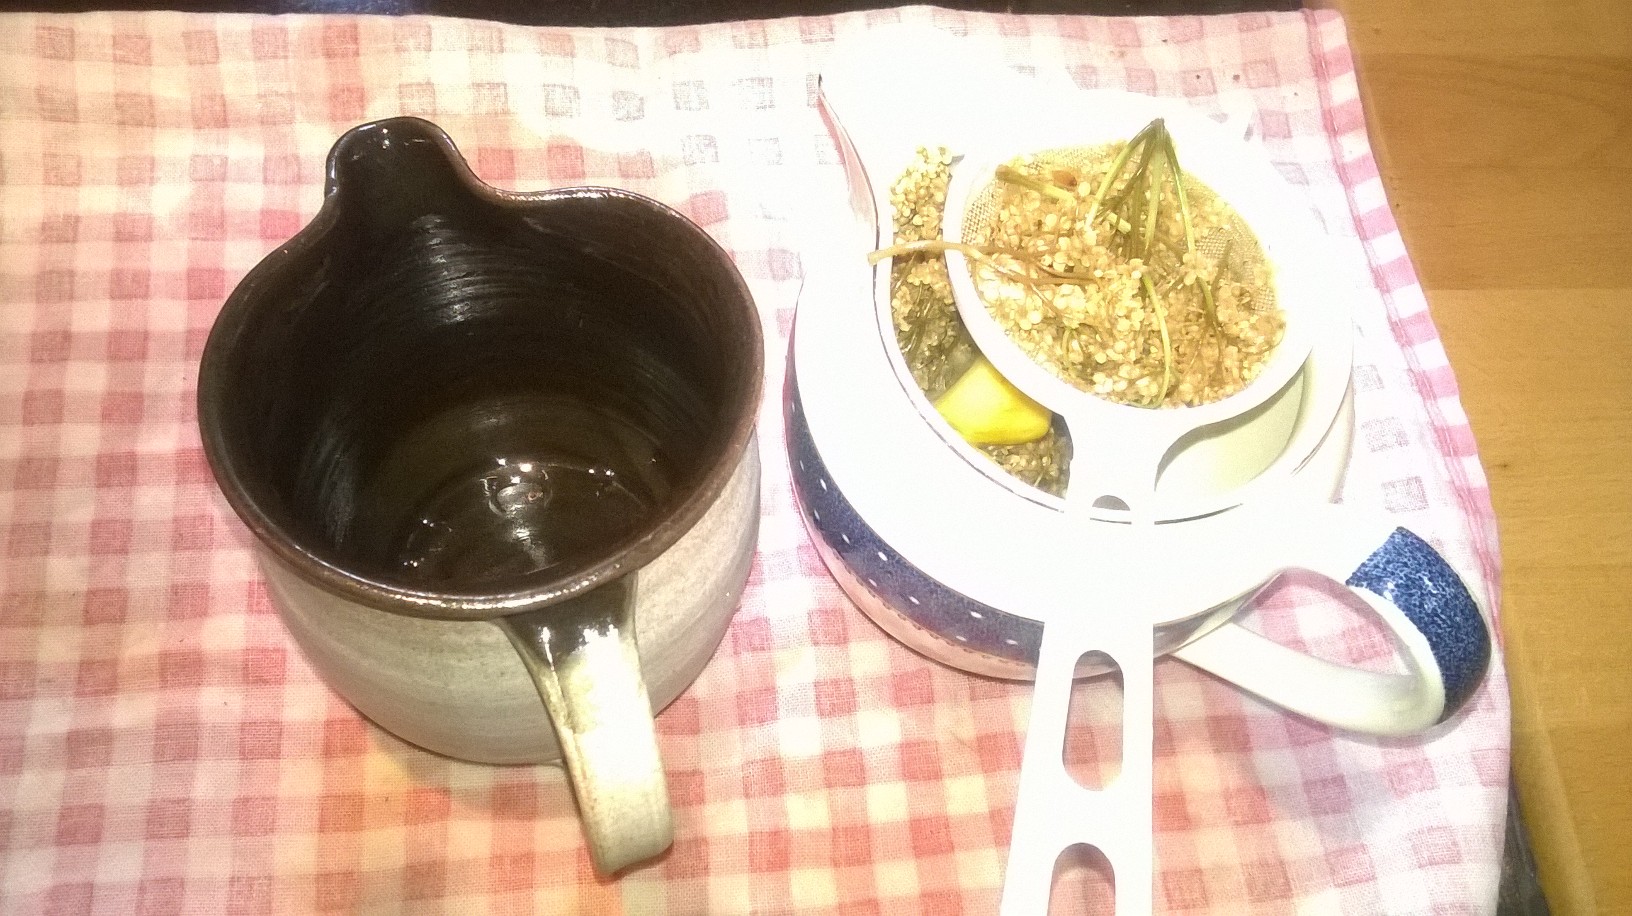
When bottling, we used a jug to scoop the mixture from the bowl which we then strained with a plastic tea-strainer into a fresh jug, and then into the bottles.
Why?
True, this stuff is devilishly delicious but it's also devilishly sticky and you won't want the sugary solution splashing all over the shop.
|
|
All the hard work is now done!
|
Brewing your Elderflower Champagne
After bottling, the champagne will be ready to drink in 6-10 days.
|
However, rates of fermentation will vary greatly so it is a good idea to check one of the bottles after 4 days to make sure you aren't brewing up a mini-volcano.
If the champagne is already very bubbly at that point, it is probably worth drinking sooner rather than later - considerable pressure can build up and not everyone enjoys the Formula One approach to decanting their champagne.
The brewing stage of this process is very exciting. We lined our 4 litre bottles up on the window sill in the kitchen in full sunlight and watched the pretty bubbles continually rising up the glass sides.
As it turns out, by placing it in the sunlight we were undoubtedly accelerating the brewing process and nearly blew our heads off when we 'tested' the first bottle for fizzyness after just 4 days.
|
|

Big mistake - AVOID using glass bottles like we did here - they need to be made of strong plastic to deal with the pressure safely!
|
Pour and enjoy!
If you are feeling nervous about opening and tasting your first ever home-made bottle of Elderflower Champagne, recruit a guinea pig.
|
We gave two of our first batch bottles away, urging the recipients to 'try some of our home brew' and then to let us know 'what they thought'...figuring that if they made it to our follow up phone call the next day, the coast would be clear for us to get quaffing too.
We were nervous on two counts...Would we come close to blowing features of our faces off again, should the pressure have continued to grow during the brewing process? And, would our Camping Champagne be edible?
We needn't have worried on either count, our worry leading only to us giving half of our first batch away - what a waste!.
The champagne was fizzy, yes, but not unmanageably so. There was a great deal of pluzzz, a satisfying level of shhhppp and plenty of up-market bubbles.
And the taste was fabulous. There was no trace of the white wine vinegar, which had done it's job in preserving the mixture long enough for it to ferment without going off. There was a slight and refreshing hint of lemon, but nothing to drown out the elderflower and the over-sweetness of the sugary cordial had reduced well.
So, all in all a very satisfying, straightforward and delicious experience and one that we have already repeated twice (the third brew is at this moment steeping in the kitchen, ready to bottle this weekend.) The total cost has been two bags of sugar, three lemons and half a bottle of white wine vinegar...we are reckoning on about 30 pence per litre.
Perfick!
|
|

Ahhh - happy days!
|
By Bekah Mardall, Campsite Chatter.
|